
Yesterday, I hit an all time low, in my quest to decorate for Halloween.
It has already been determined that one my favorite decorations are the BEAST EYES. But, they pose a bit of a problem.
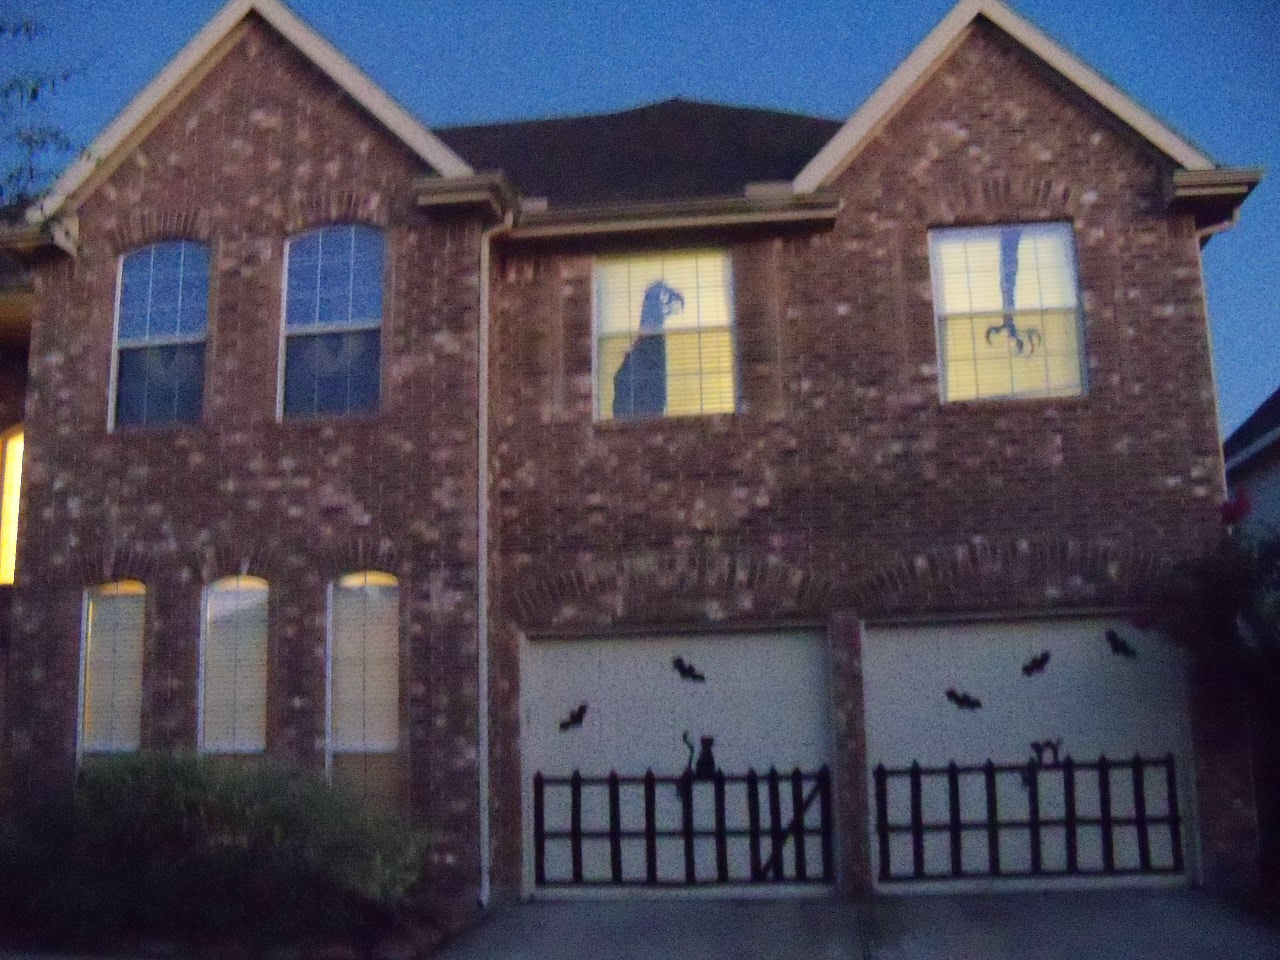
You really can’t see them during the day, because they’re really meant to show their glory when it’s dark and creepy outside. You just turn on the light in the room where they’re hung, and SHAZAM!, your spooking up your neighborhood.
But, as luck would have it, my children go to sleep when it’s dark outside (theoretically, anyway).
And one of my children, we’ll call her the Halloween Ruiner, sleeps in the room with the Beast Eyes. My husband realized this might pose a problem before I even started decorating.
“Nicole. What are you going to do when it’s time to put the baby to bed?” he asks in his hotey totey, very responsible parenting voice.
“La, la, la, la, la.” I ignore him.
“Ya know, it might be difficult for the baby to sleep in her room if the lights are on.” he says, ignoring the fact that I’m ignoring him.
“Maybe you could turn the light off, and then once she’s asleep, sneak back up there and turn it on. Maybe then it won’t bother her.”
His lips are moving but I don’t hear a sound.
I KNOW my child. And she is a trooper. She, at her very young age understands the importance of Halloween.
So I grab my little sweetie pie, give her a kiss, and carry her upstairs to go to bed. I lay her in her crib, and tell her night-night, and pull the door closed, leaving it slightly ajar. I peer through the crack, and brace myself for the inevitable playing and giggling to ensue, because it’s bright ‘as all get out’ in her room.
She’s grabs her binky, turns on her belly, wiggles to adjust her tummy, then she closes her eyes and goes to sleep.
Oh, my sweet little baby. She’s not the Halloween Ruiner. She’s the Halloween Saver.
And I’m the Halloween Horrible Mommy.
I squeeze my hand through the crack, and hit the lights to turn them off. She passed the test, and so did I.
I guess Halloween will have to adjust.
– – – – – – – – – – – – – – – – – – – – – – – – – – – – – – – – – – – – – – – – – – –
Here’s the adjustment.
More Halloween decorations. It’s the only way to offset the Beast Eyes situation.
It’s the reason why I didn’t post yesterday. I had to put my priorities in order, and ramp up the Halloween scene in my hood.
Since the Beast Eyes will only be seen for 1 hour tops, every night, I’ve decided to decorate the room next door.
This project can be done in a few hours (at most) and it was inspired by a project I found on Martha Stewart.com using this LINK.
The end result is quite similar, but the project itself is A LOT cheaper, and easier. It doesn’t involve elaborate cutting of flimsy material, using glue that takes too long to dry, or curtains of any sort.
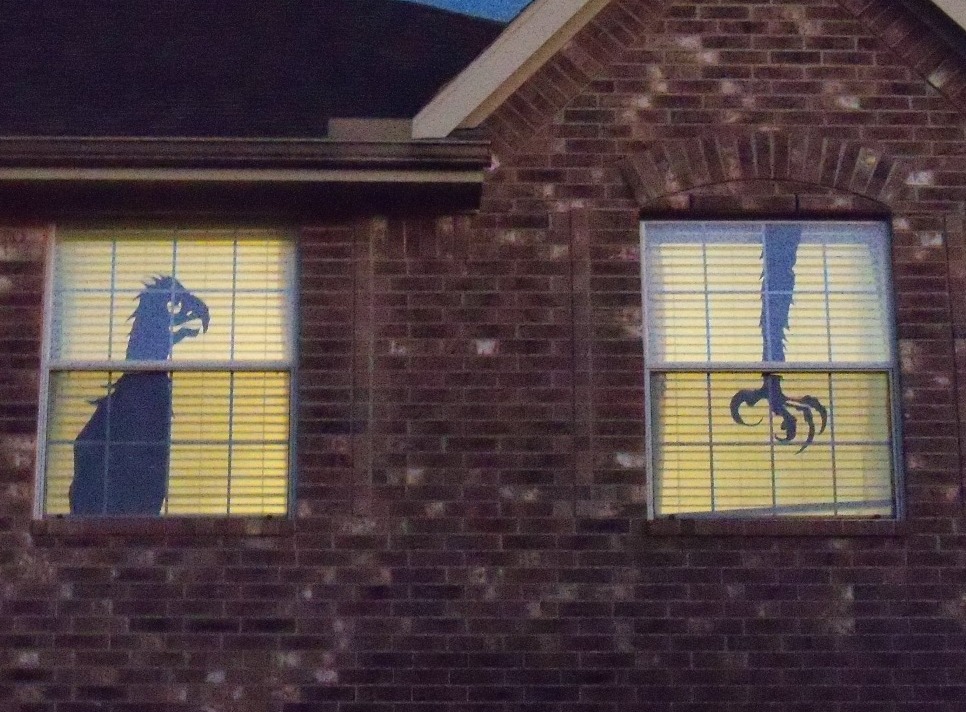
Creepy Bird Silhouettes
inspired by Martha Stewart.com
What you need:
Black Poster Board
Plastic Table Cloth (the cheap $1 kind you buy at the Party Store – I used lime green)
Scissors
Measuring Tape
Removable Mountable tape, for mounting your design and table cloth.
Directions:
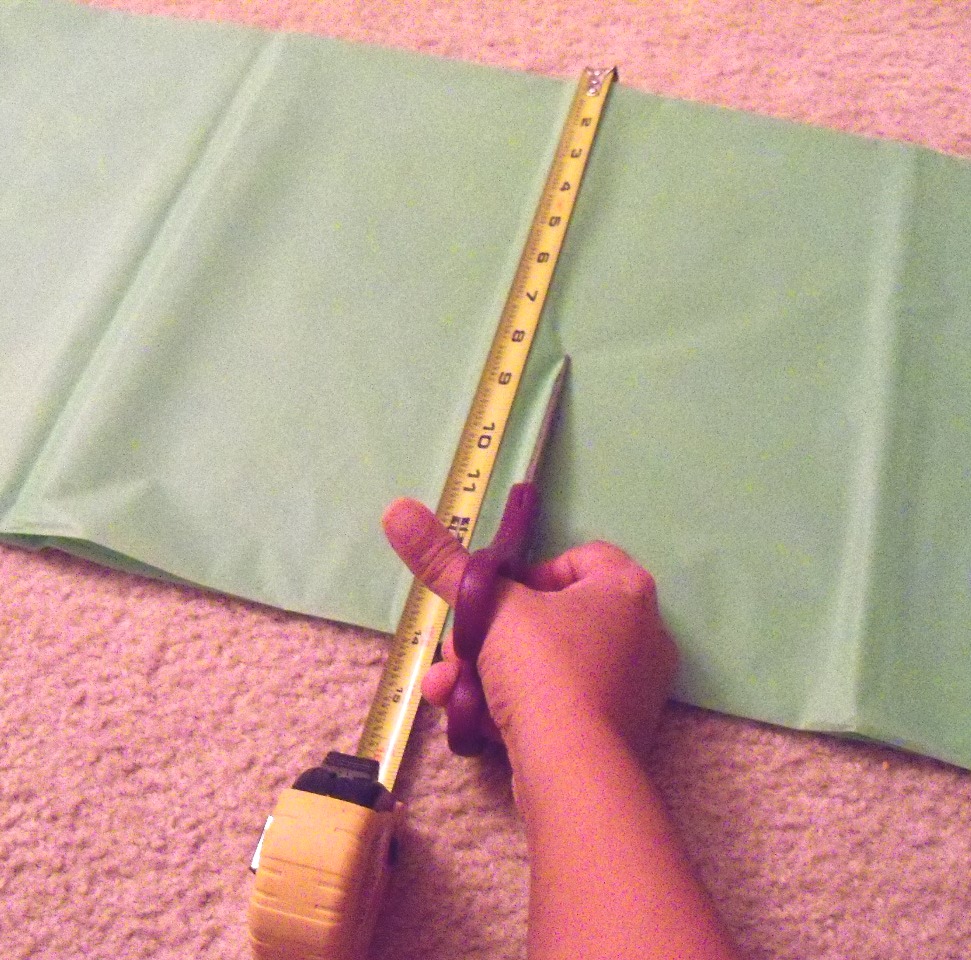
1. Measure the window. Add 1″ to the height and width.
2. Cut the tablecloth to the size of the new dimension. Set aside.
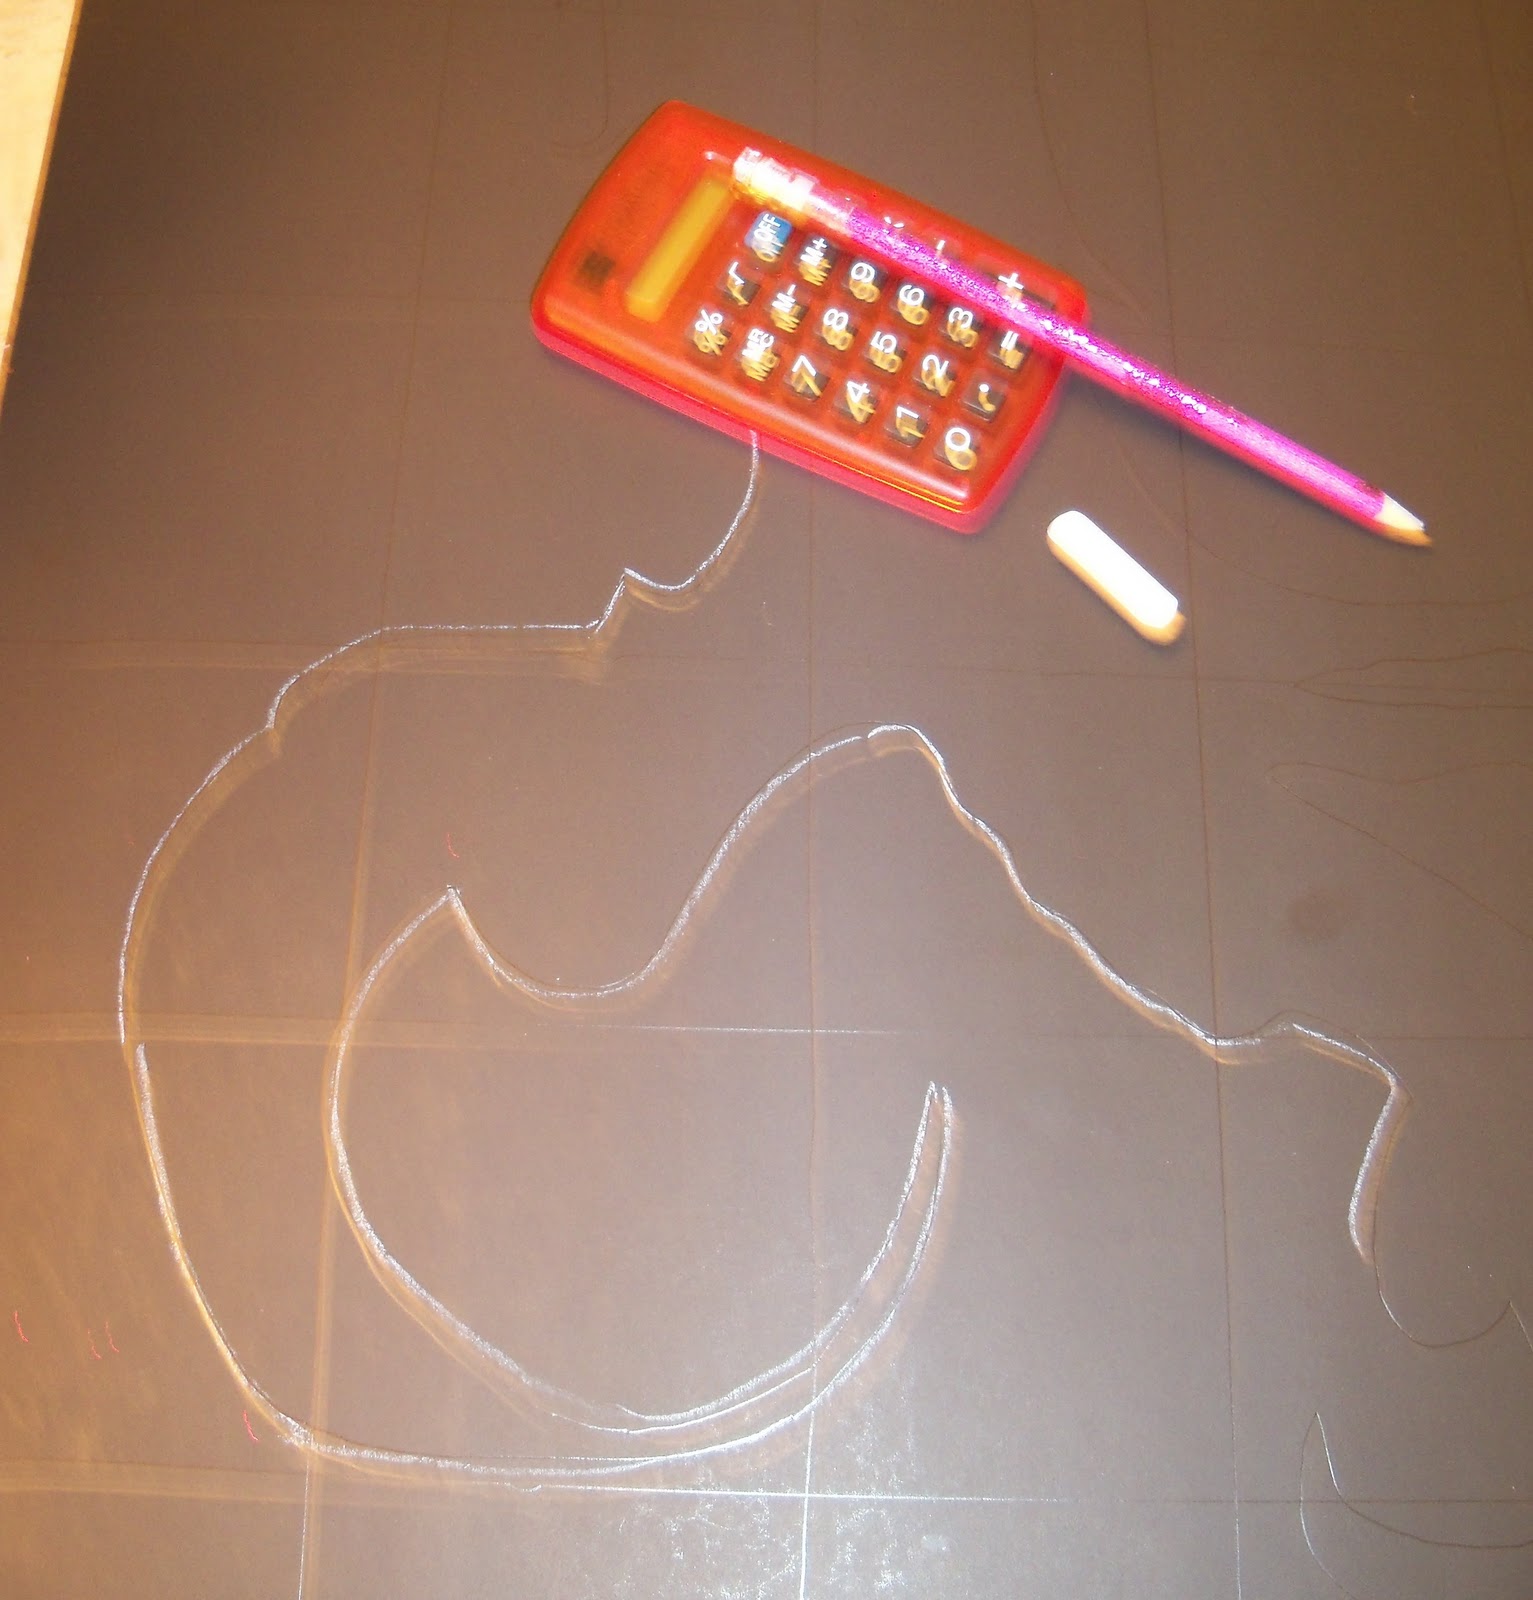
3. Decide on a Silhouette to use. Tons of great silhouettes can be found all over the Internet, or you could draw one from your own imagination.* I used Martha’s Bird Silhouette’s found HERE
4. With your window in mind, determine how large you’d like your image (if your window is like mine, I had to consider where I wanted to cut the image in half because their is huge horizontal bar that runs through the center of my window).
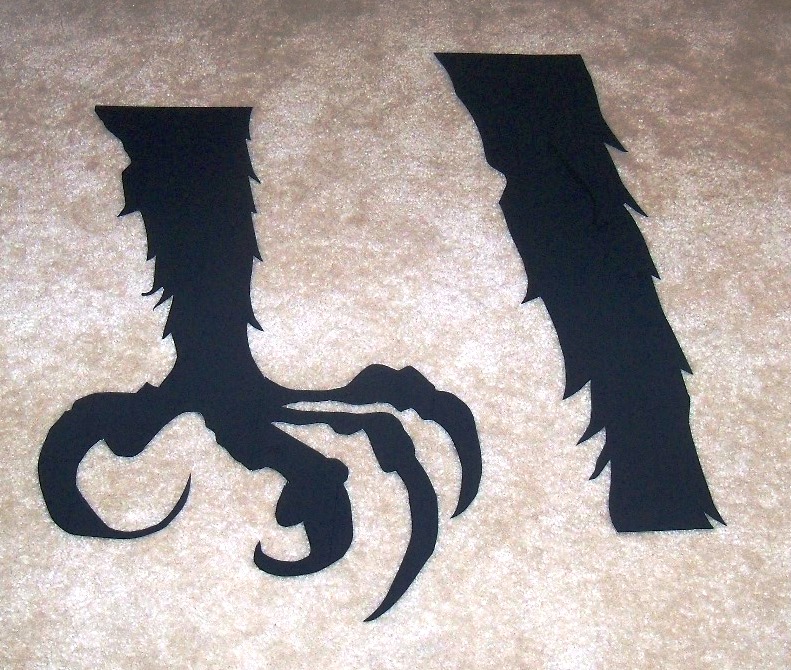

9. Tack the image on window, using removable mounting strips.
10. Hang the tablecloth as the backdrop (the color you choose will bring that hue to your design, and keep peepers from seeing you walking around in your underwear).

*Note: The grid technique can be used for any picture you find that you like. Simply save the image you like, insert it into a document, place a similar grid on top, and print.
